


Creating A Visual Communication Board with Google Sheets
This is going to be a step by step tutorial on how to create a visual communication board with Google Sheets. Similar to the physical boards created by software like Boardmaker.
If you’ve worked in educational technology or special education, you are probably familiar with the monopoly that Tobii Dynavox’s Boardmaker has on the market for tools like this. I’m hoping to show and explain some alternatives that are out there using tools that are already available in to educators.
Step One: Create a blank Google Sheet.
We will be creating a basic template in Google Sheets that can be used over and over again with the formatting and dimensions staying constant.
Step Two: Inserting Images.
Select the first cell in the sheet if it’s not already selected. Click on Insert → Image → Insert image in cell.
It’s important to select “in cell” and not “over cell.” The formatting we will be using later will depend on the images being inside the cells.

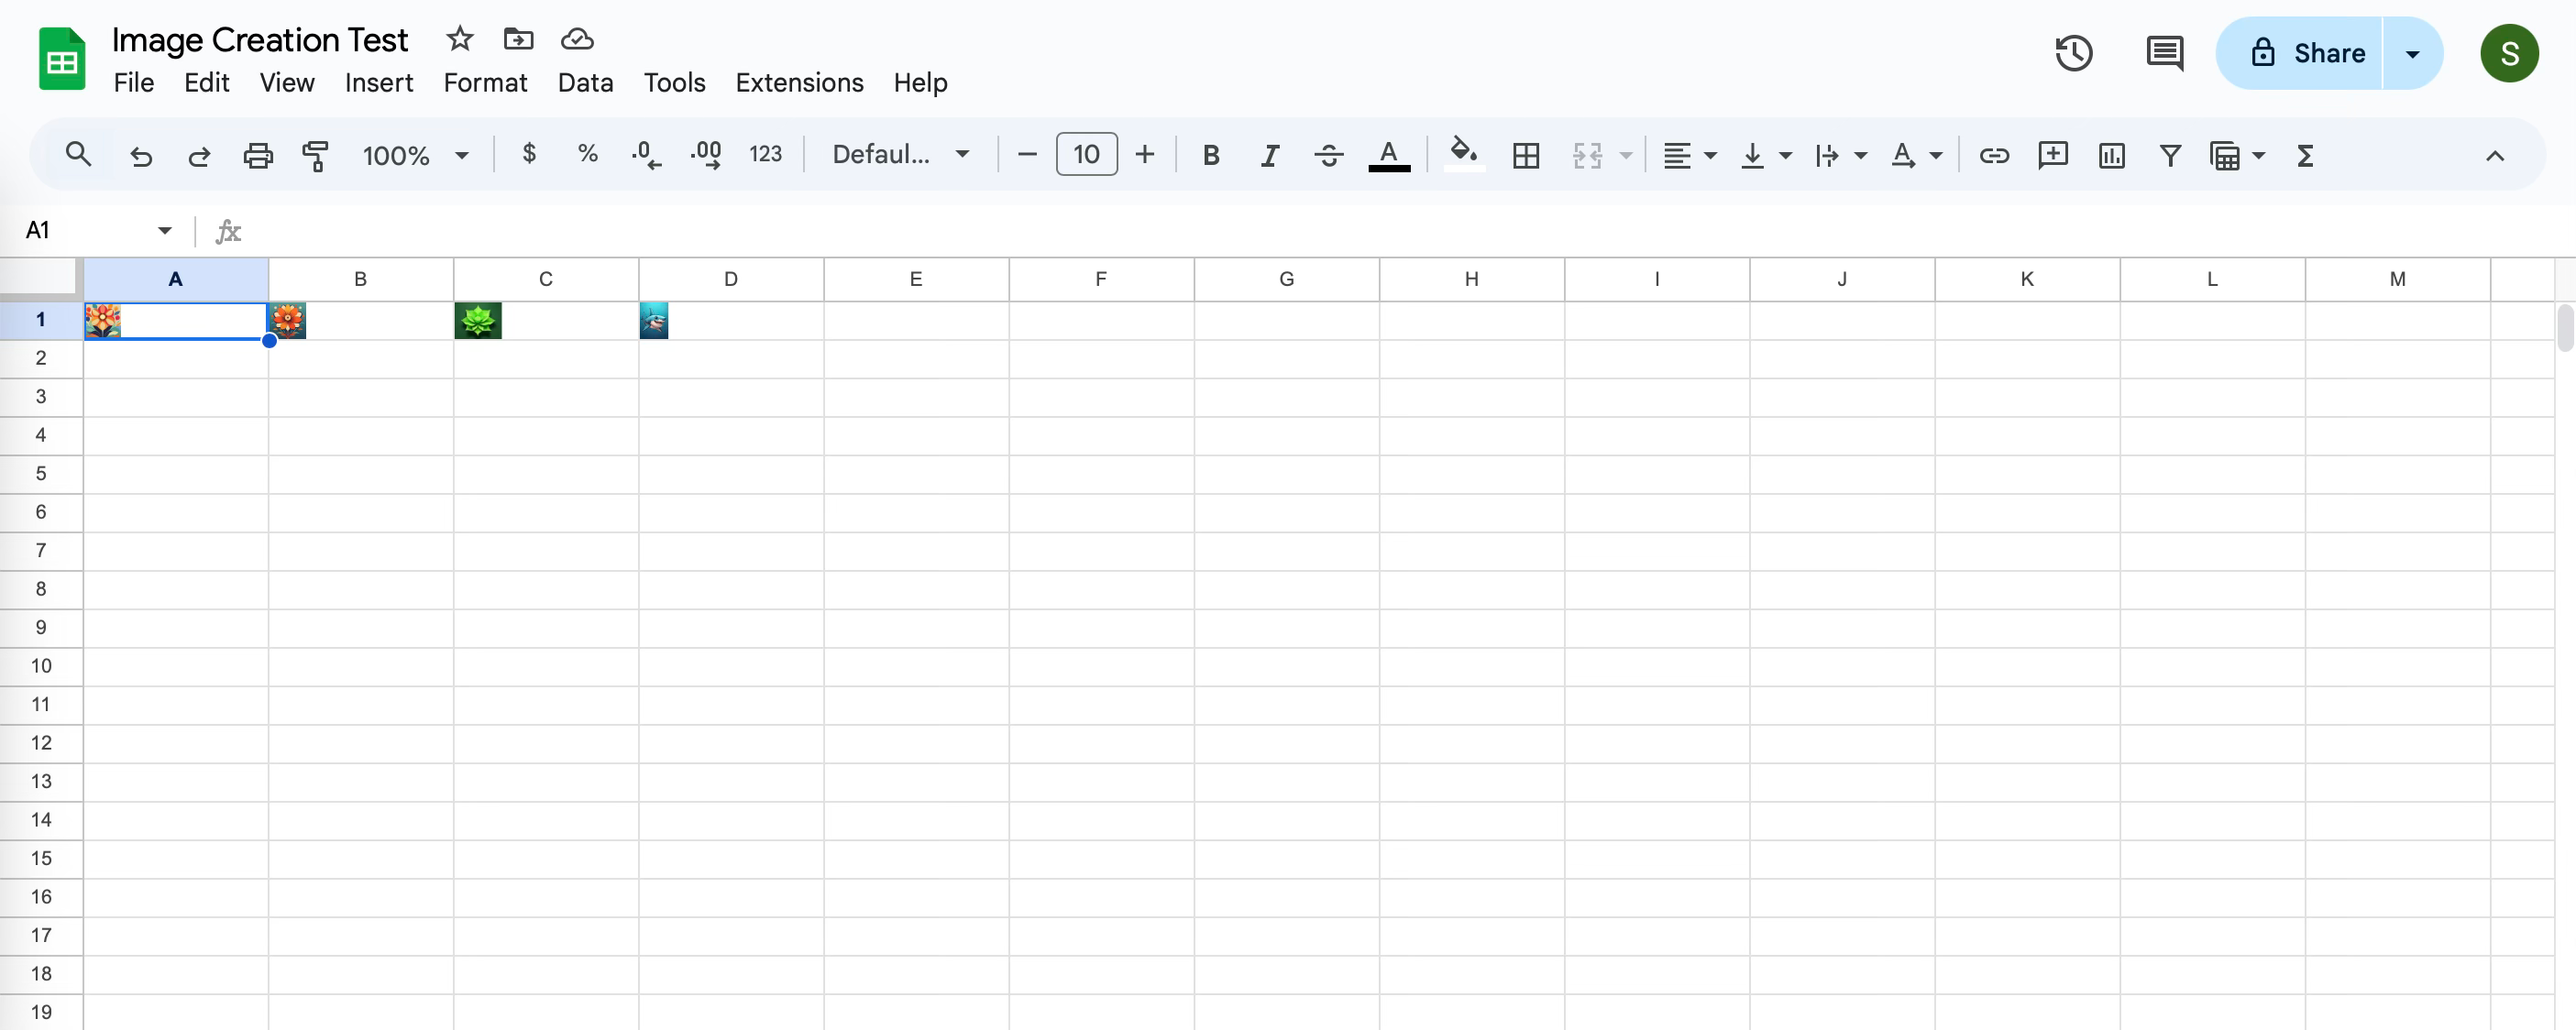
You’ll get a prompt to upload the images you want. You will need to import each image one by one. We need one image per cell for the formatting to work. You can upload images from your computer, Google Drive, or any link on the web (be mindful of copyright rules with this option).

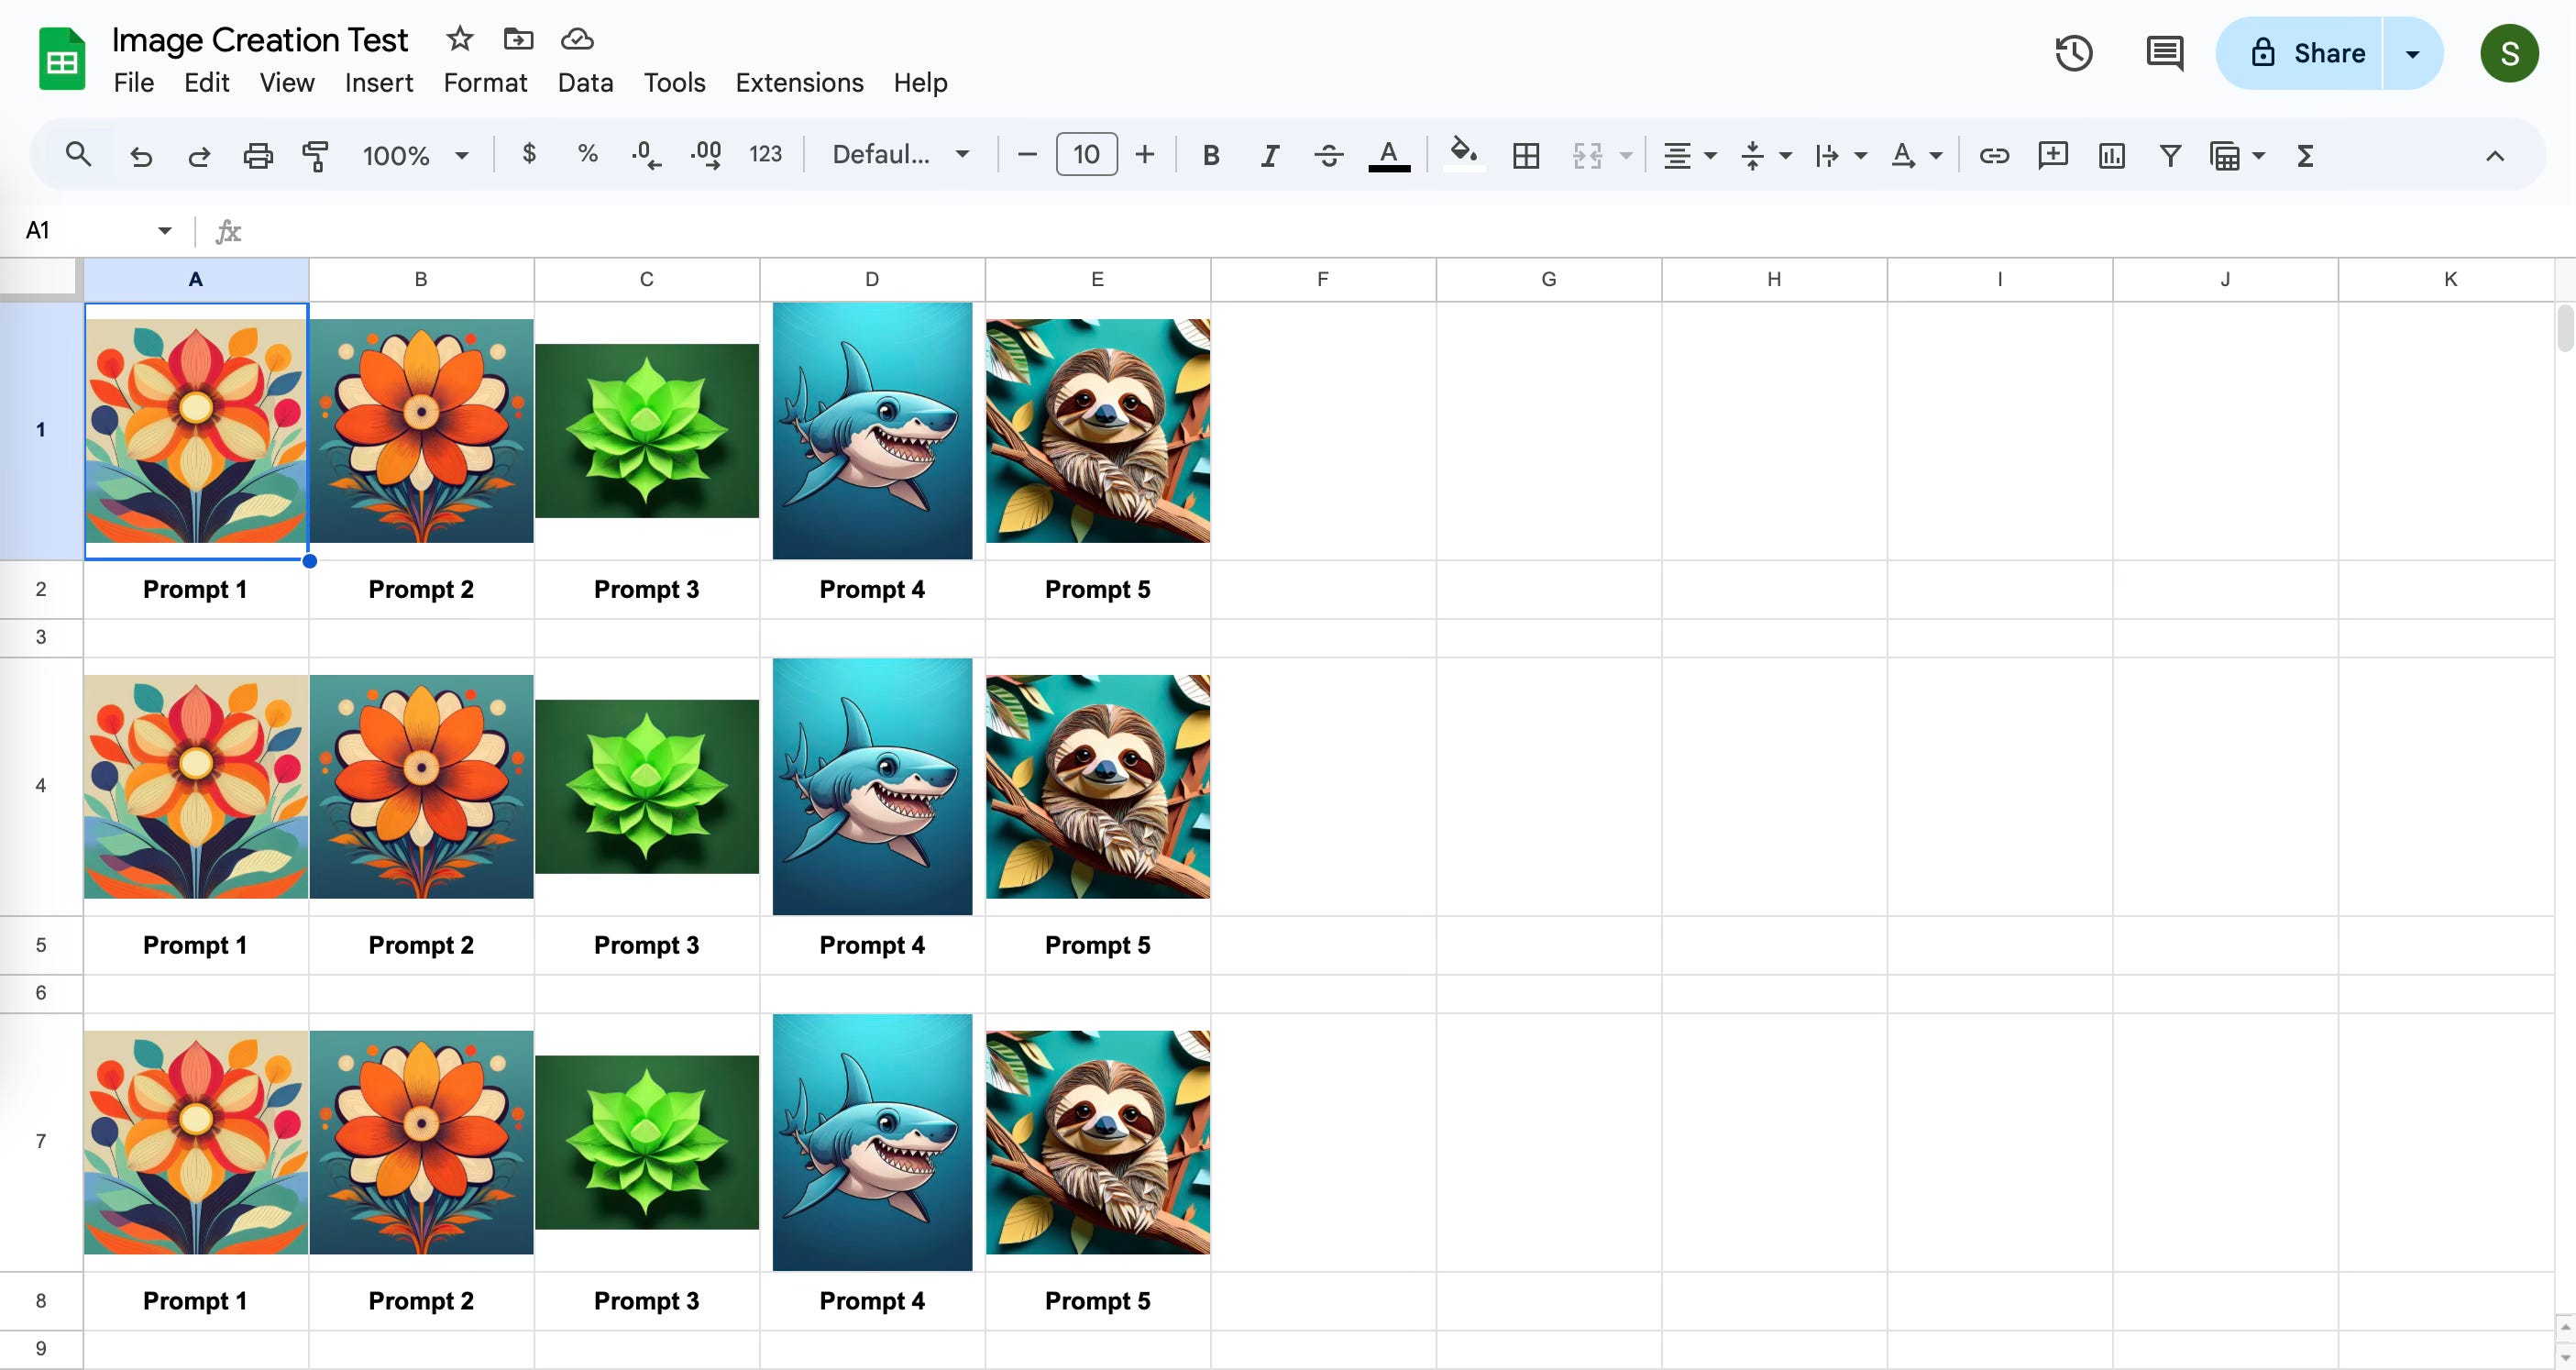
Once you have a few images upload into each cell, you will have a sheet that looks something like the screenshot below.
Step Three: Resize the Image Row.
Click on Row 1 to select the entire row of image you upload.
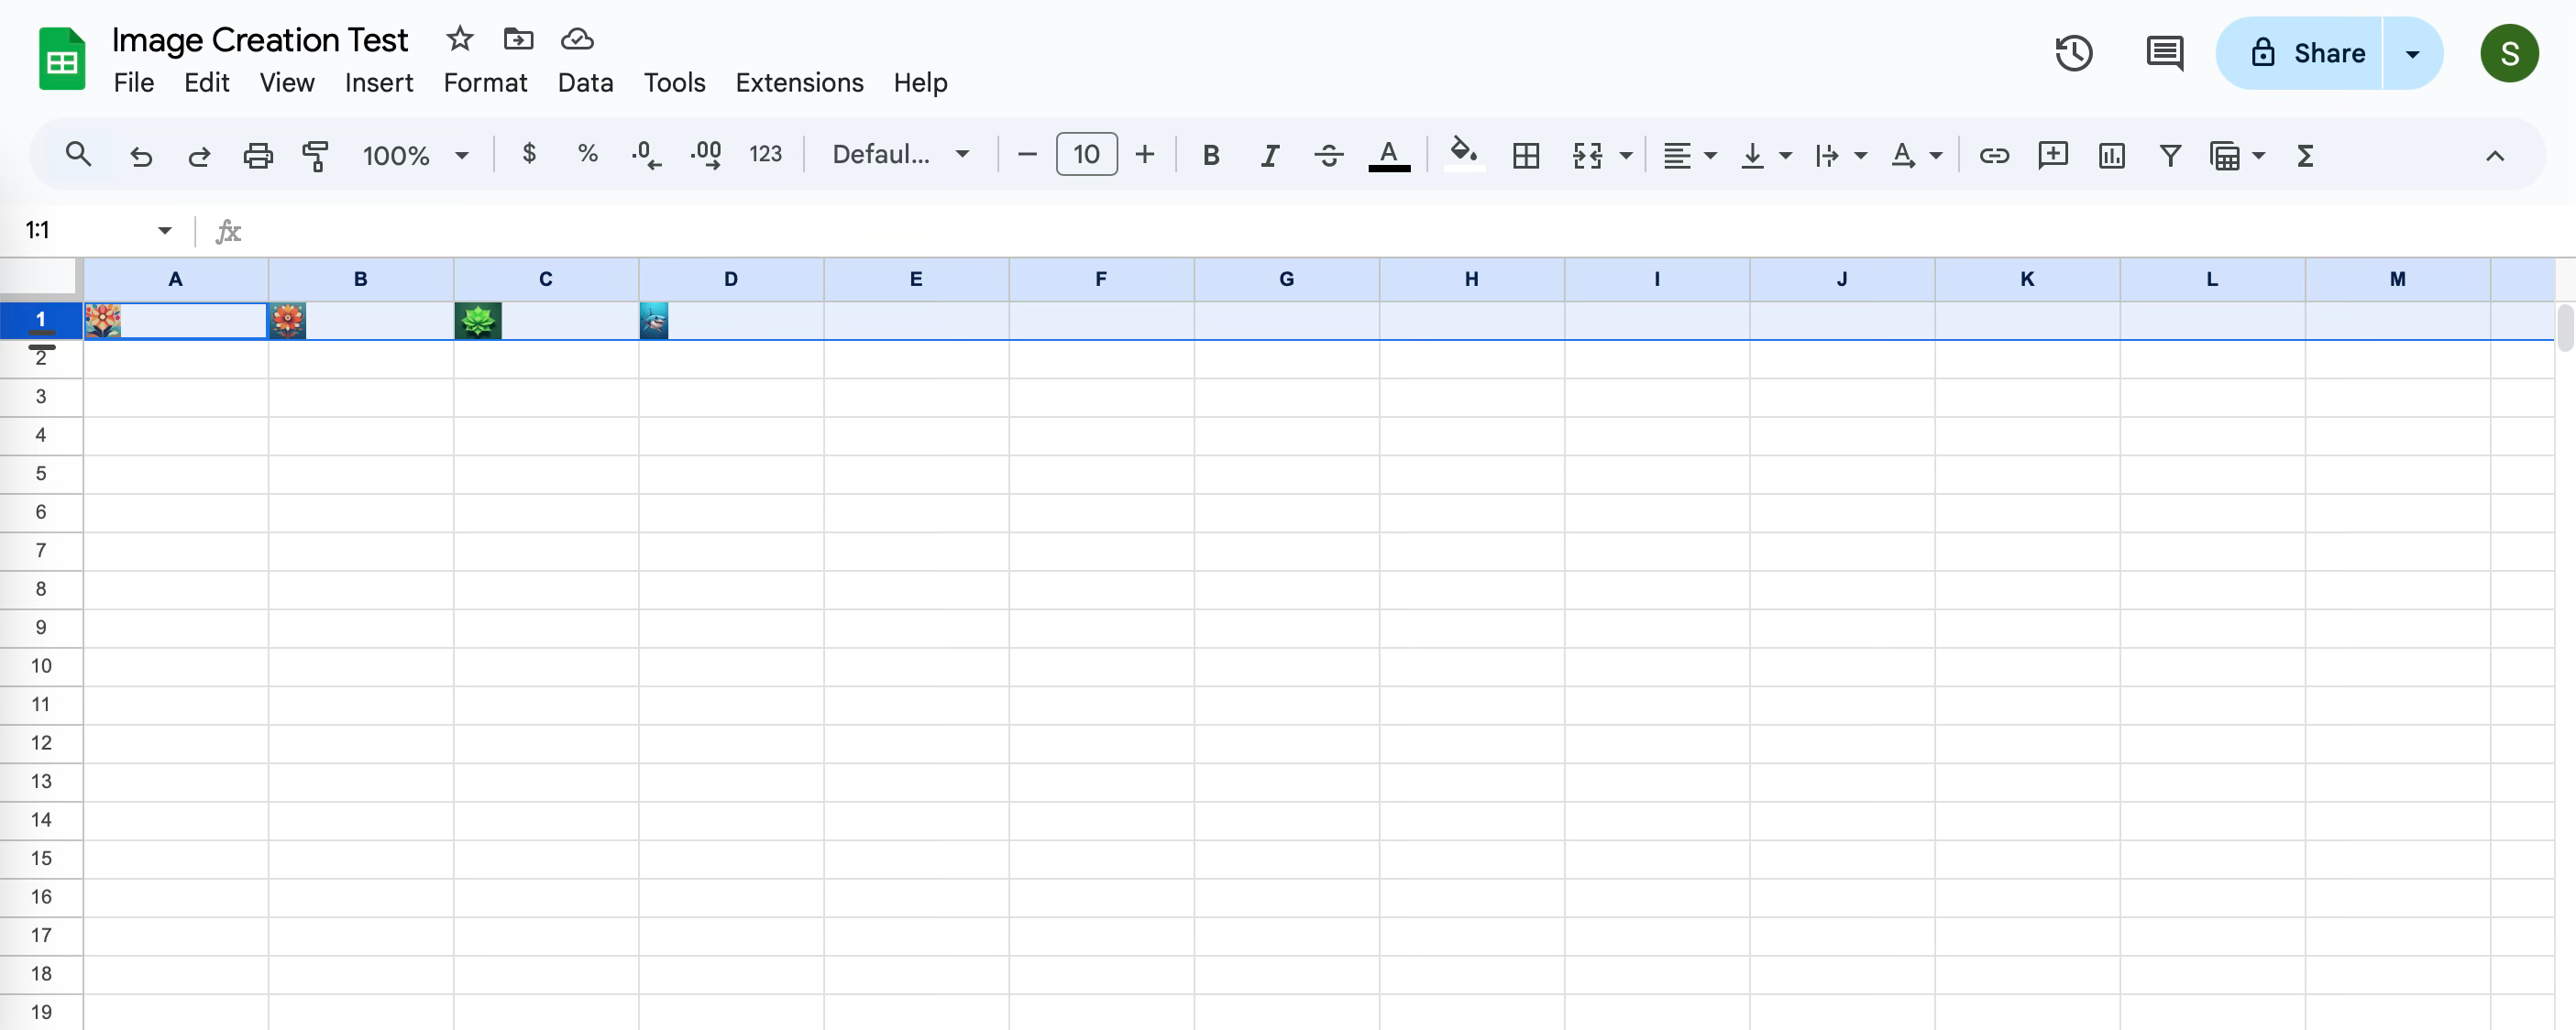
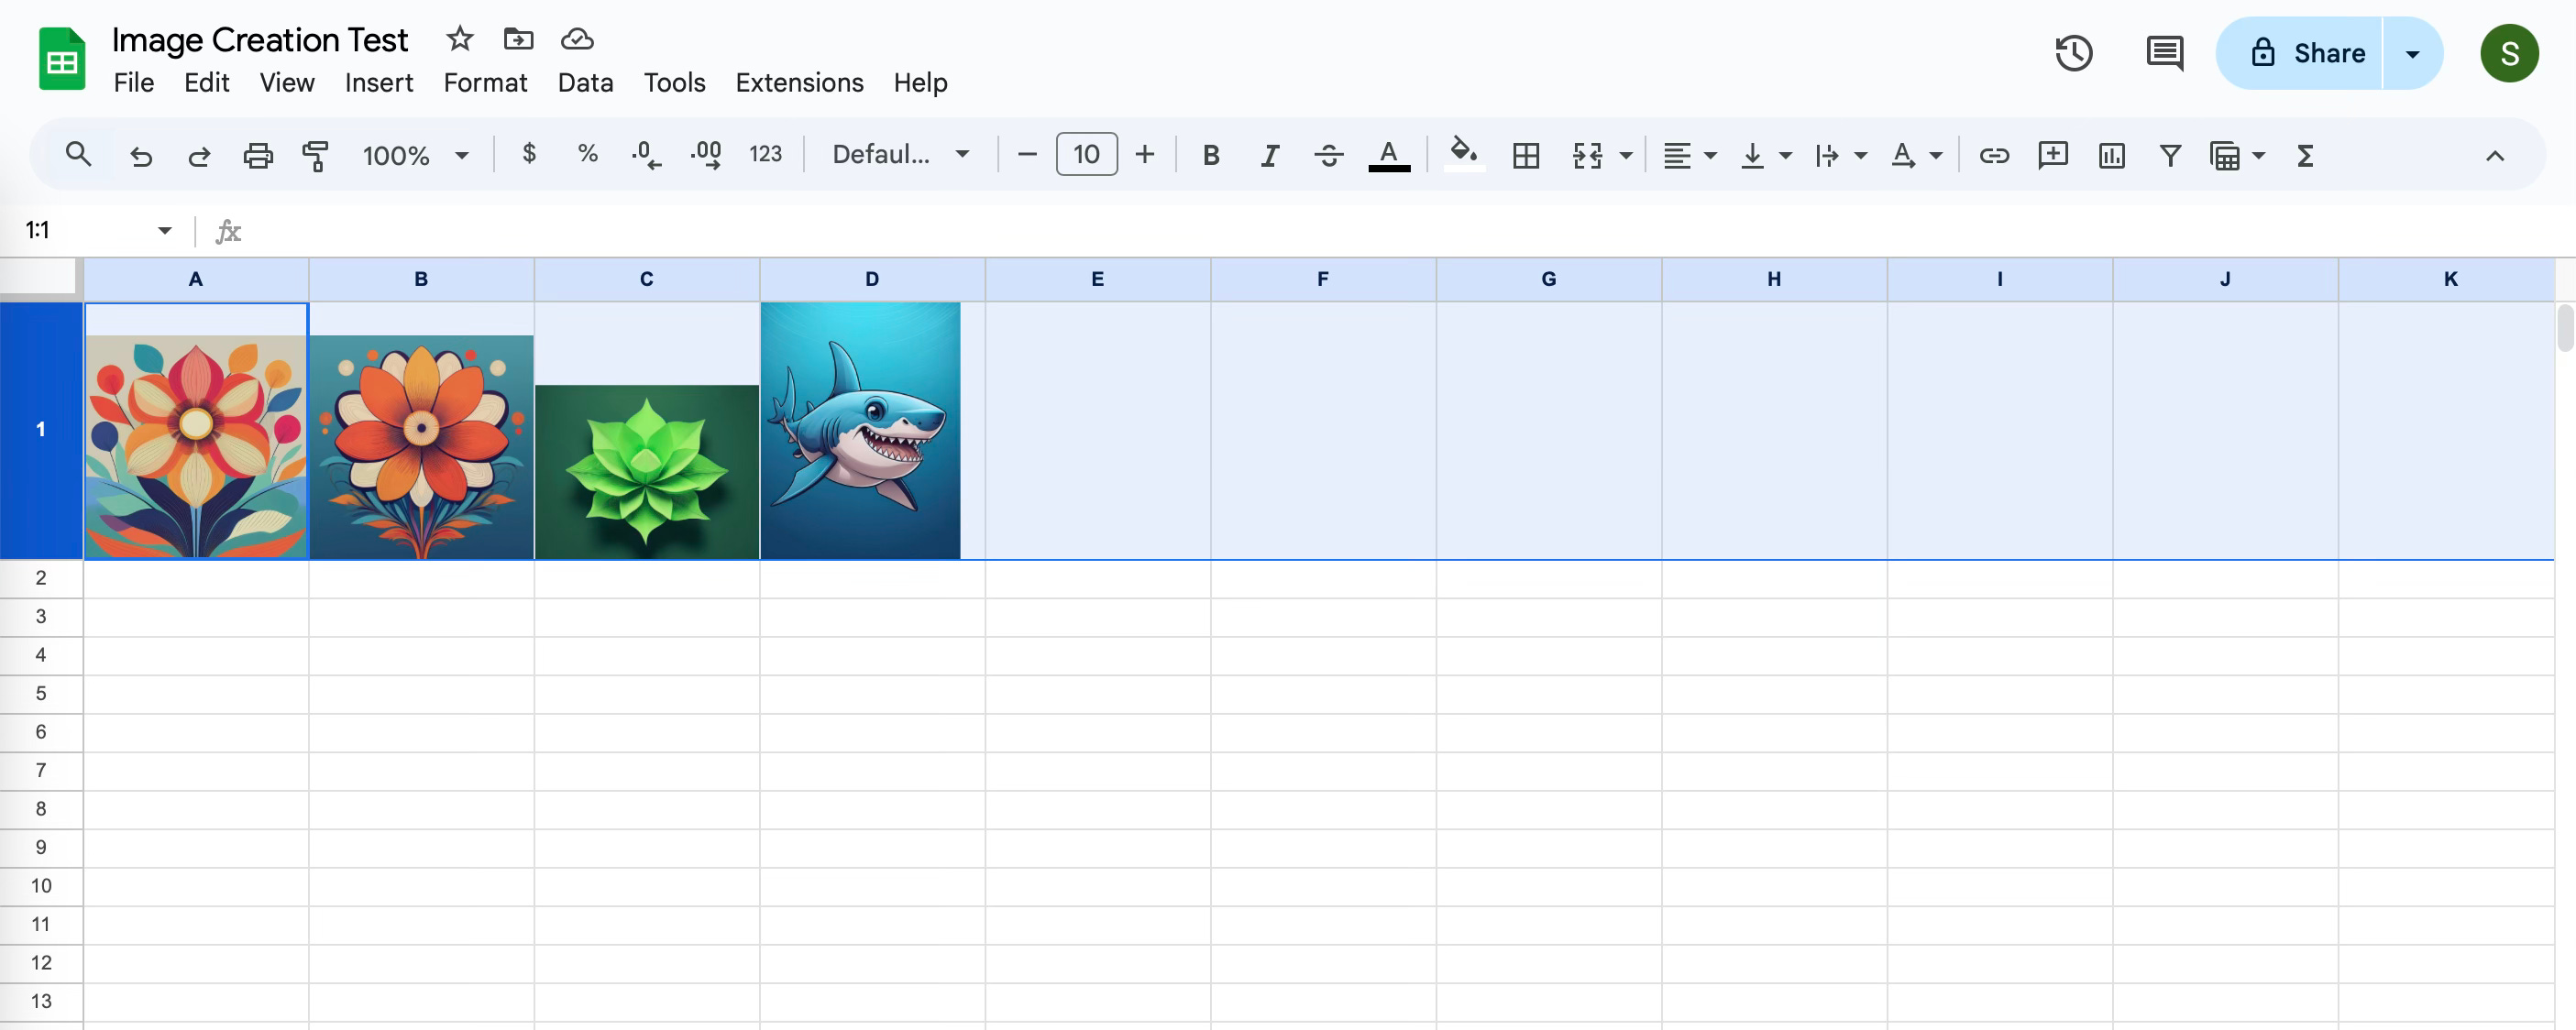
Place your mouse directly below the 1, it should turn into an arrow that you can use to drag down and change the size of the entire row. This will automatically resize the images to fit the row height.
It will look like the screenshot below.
Step Four: Formatting Cells
With Row 1 still selected we are going to adjust the alignment of the image.
First change the horizontal alignment from Left to Center. Second change from vertical alignment from Bottom to Middle.

Step Five: Expanding and Adding Prompts
Now that we have the first row of images uploaded and formatted. We can begin to add some more row using copy and paste.
Select the entire Row 1 and copy it to the entire row 4 and 7.
You can then add your prompts below each image.
Each image will be in its own cell and each prompt will be in its own cell. With an empty cell separating each complete row.
The specific images and prompts are not important at this point. Remember we are making a template that can be used and customized over and over again.
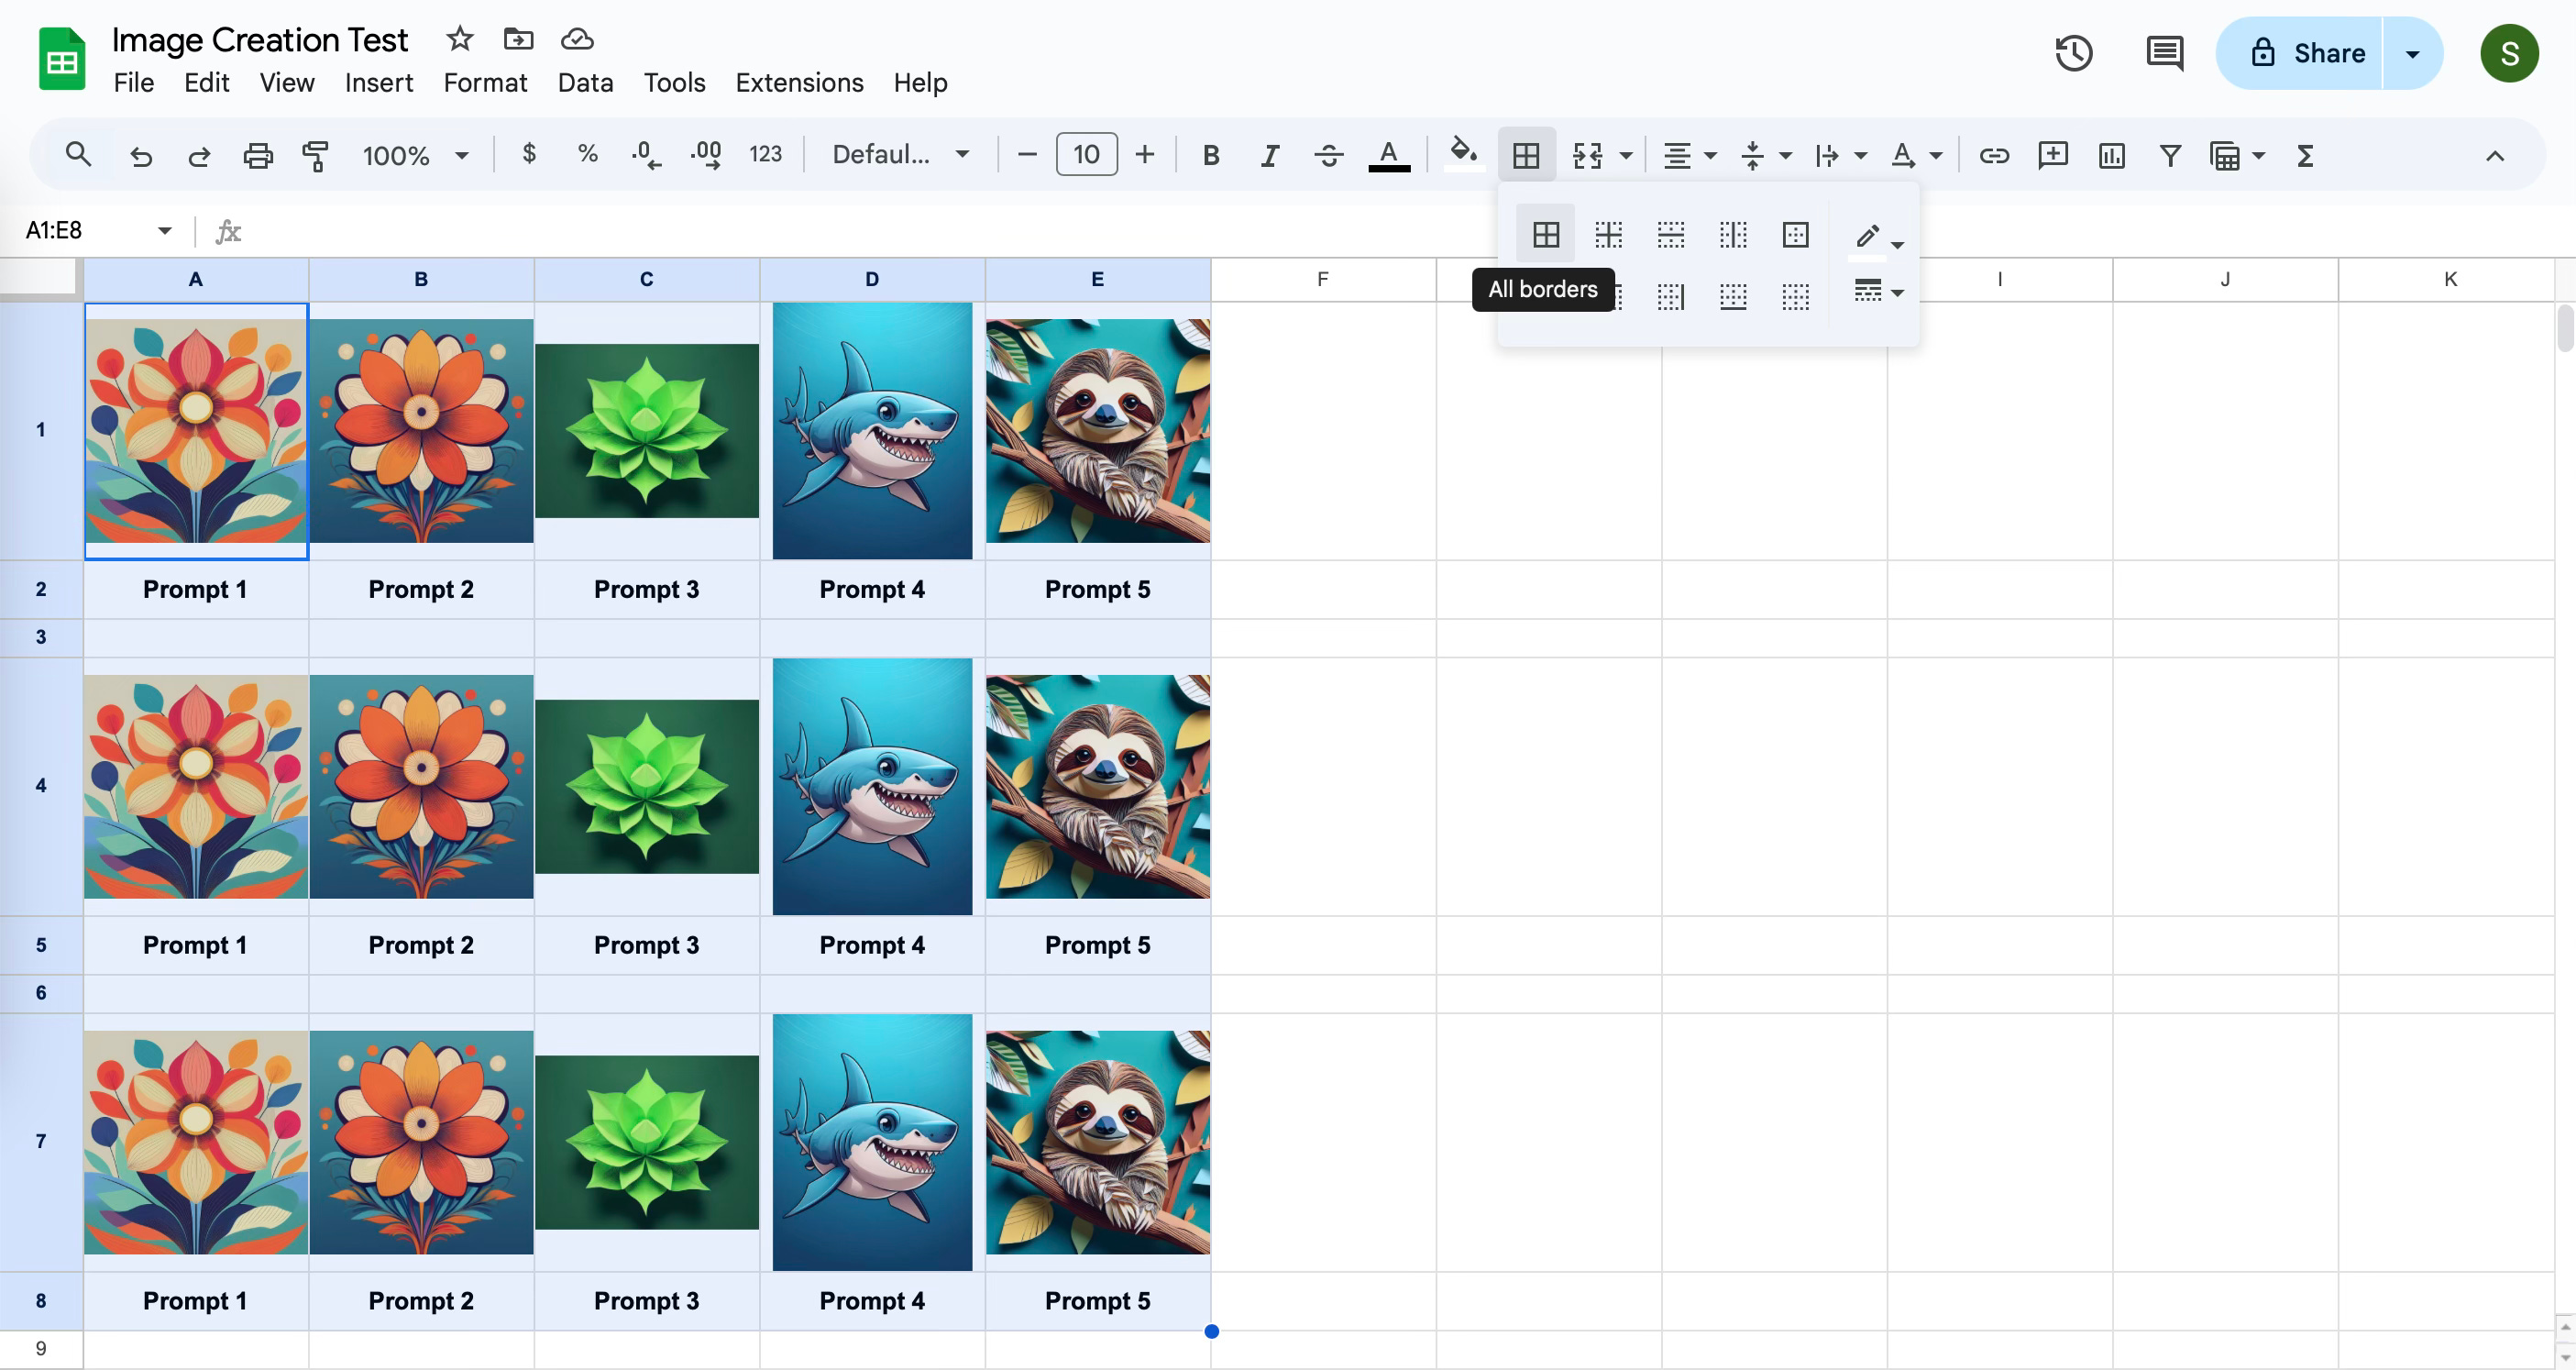
Step Six: Spacing and Boarders.
Now for some clean up formatting. Select the entire area of images and prompted.
Click on Boarders.
Change the size of the boarders to the largest available.
Change the boarder colors to white.
Select all boarders.
This will create the spacing we need to print this sheet and having it readable on paper.
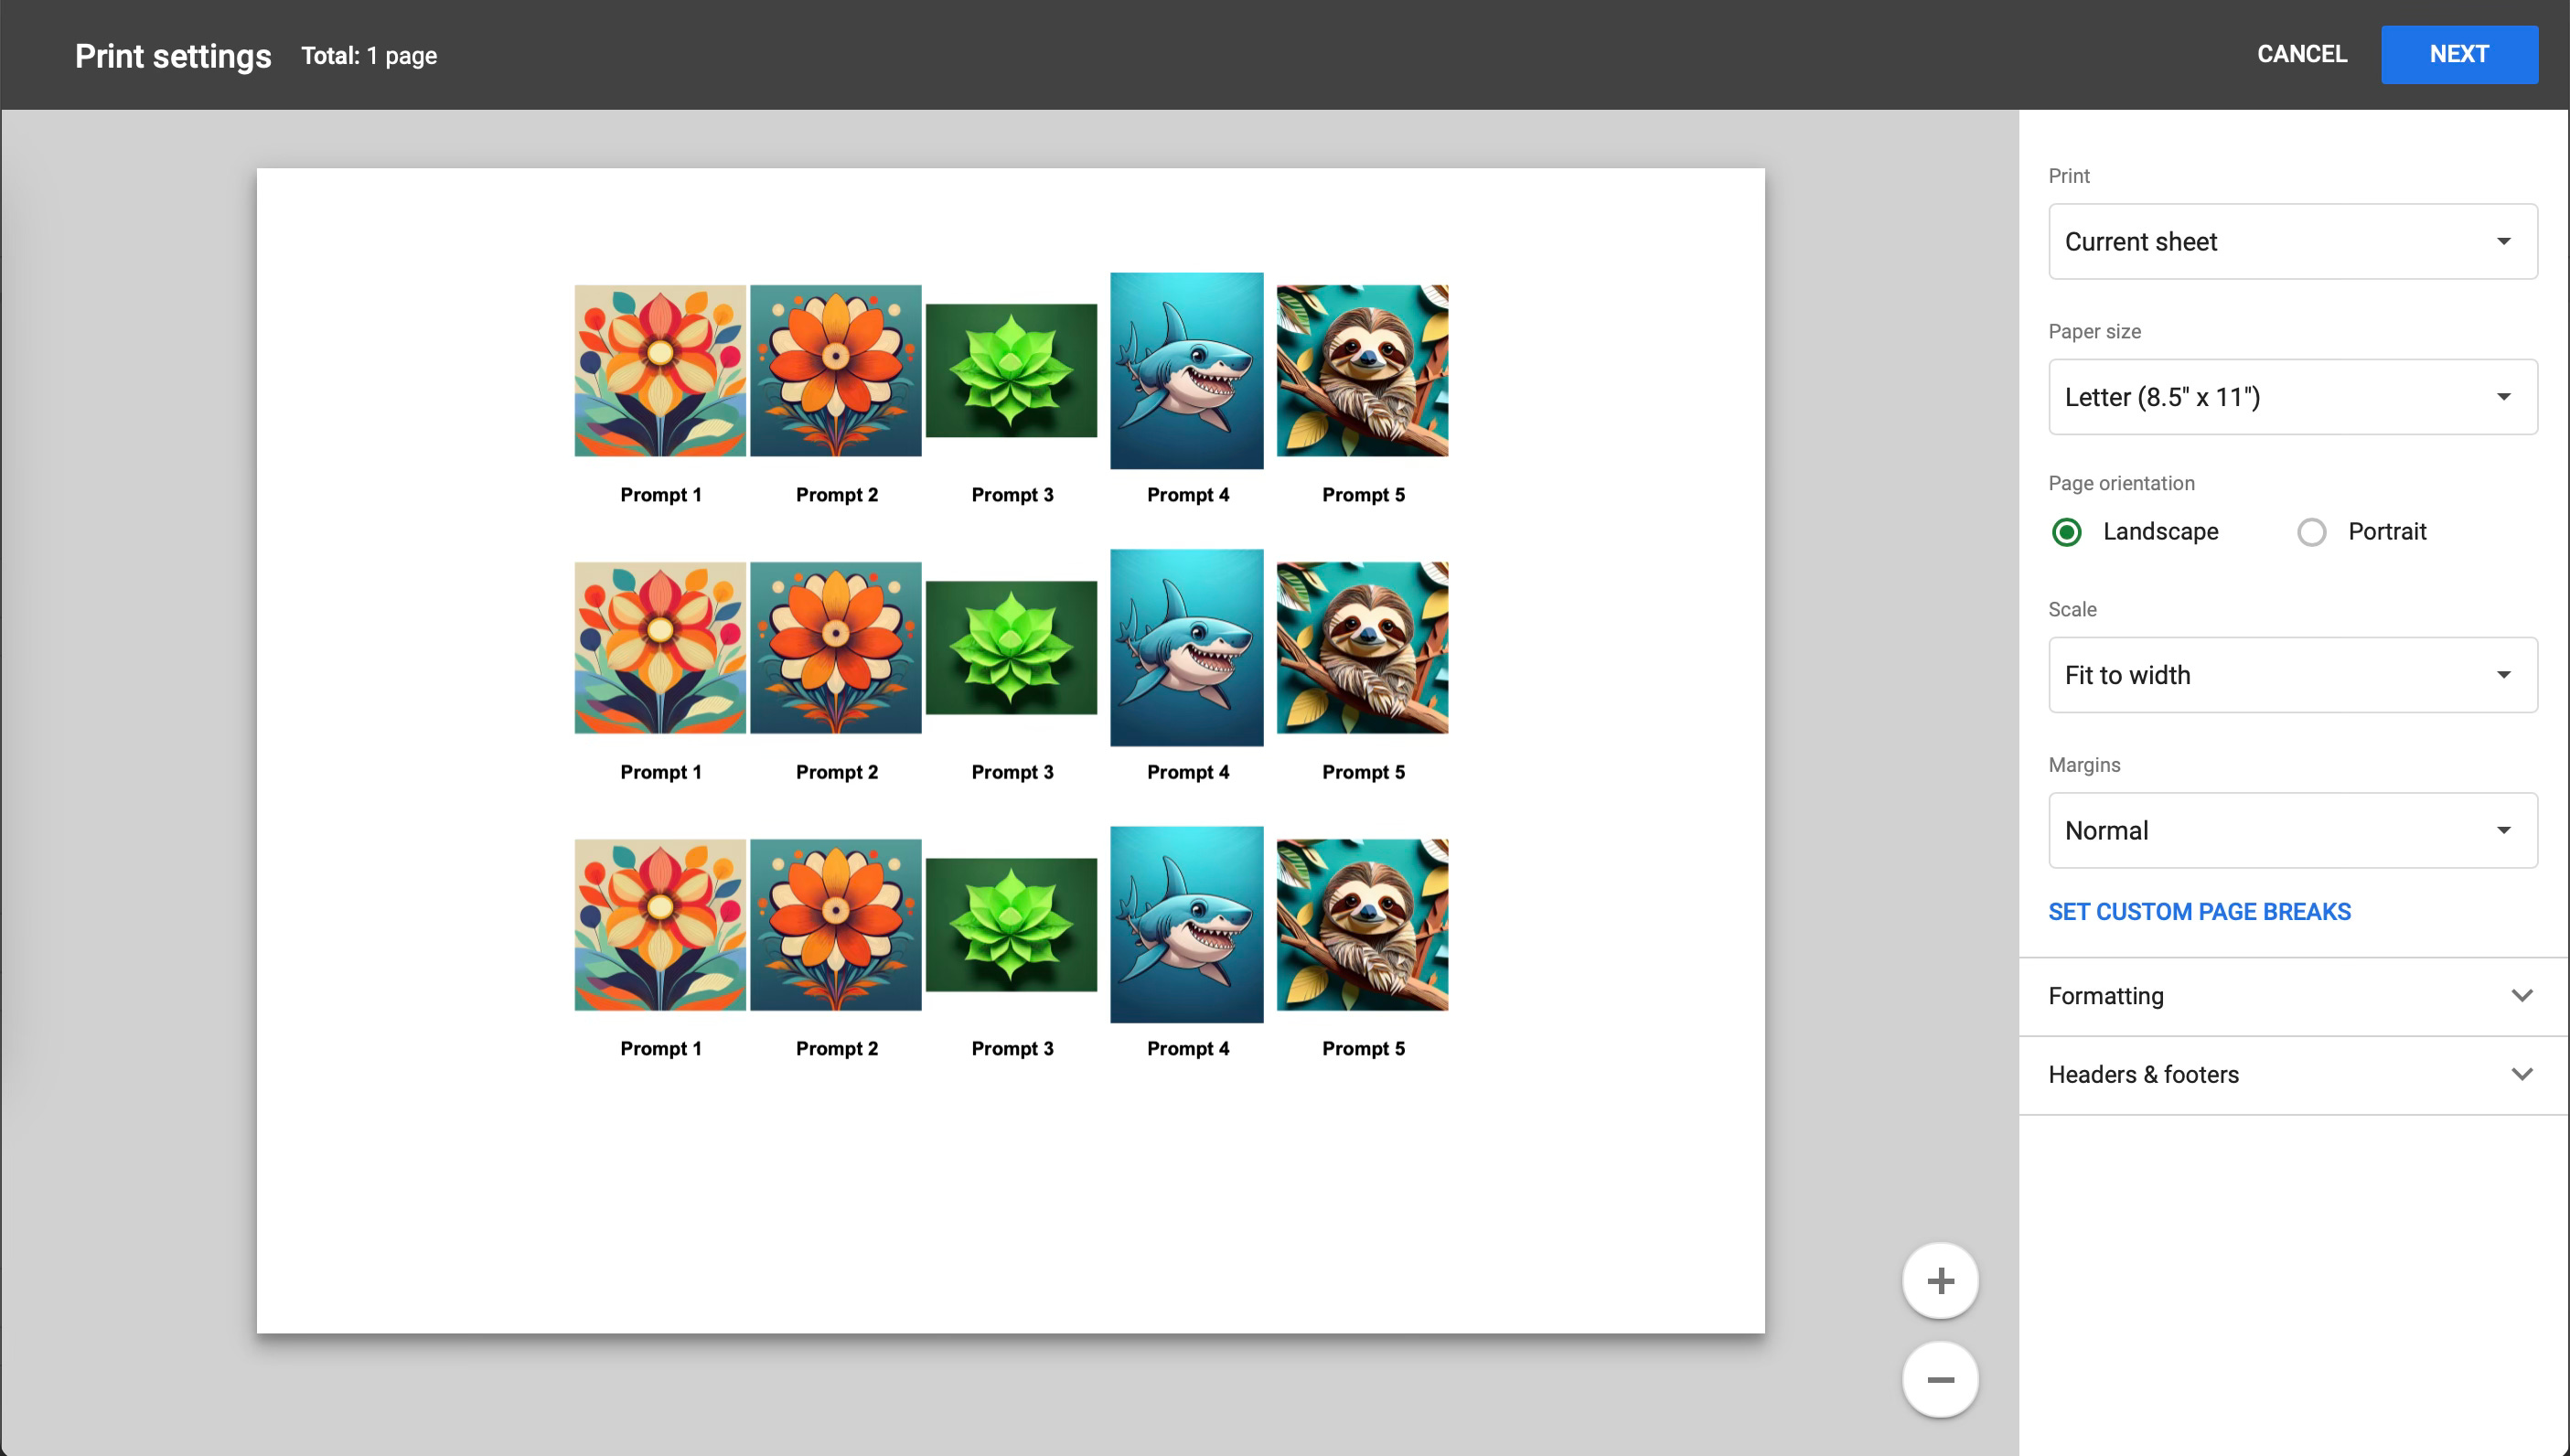
Step Seven: Page Preview.
Let’s see how we did. Select File → Print. This will give you a preview of how it will look on a printed sheet of paper. Select the paper size and orientation you will be using.
If needed, hit cancel and create additional formatting on the Google Sheet to make it exactly how you want it to look.
After everything looks good and the way you want it, save this Google Sheet as a template. The next time you need to create a board or edit an existing one, create a copy of this template and insert the images and prompts you want. All the sizing and formatting will stay the same.
The template created in this tutorial is available for you to make a copy of by following the link below.
I hope you found this tutorial helpful. If you have any questions or need clarification, please let me know in the comments or join the chat to talk directly with the community.

This is so helpful! My school has been looking for alternatives to Boardmaker.